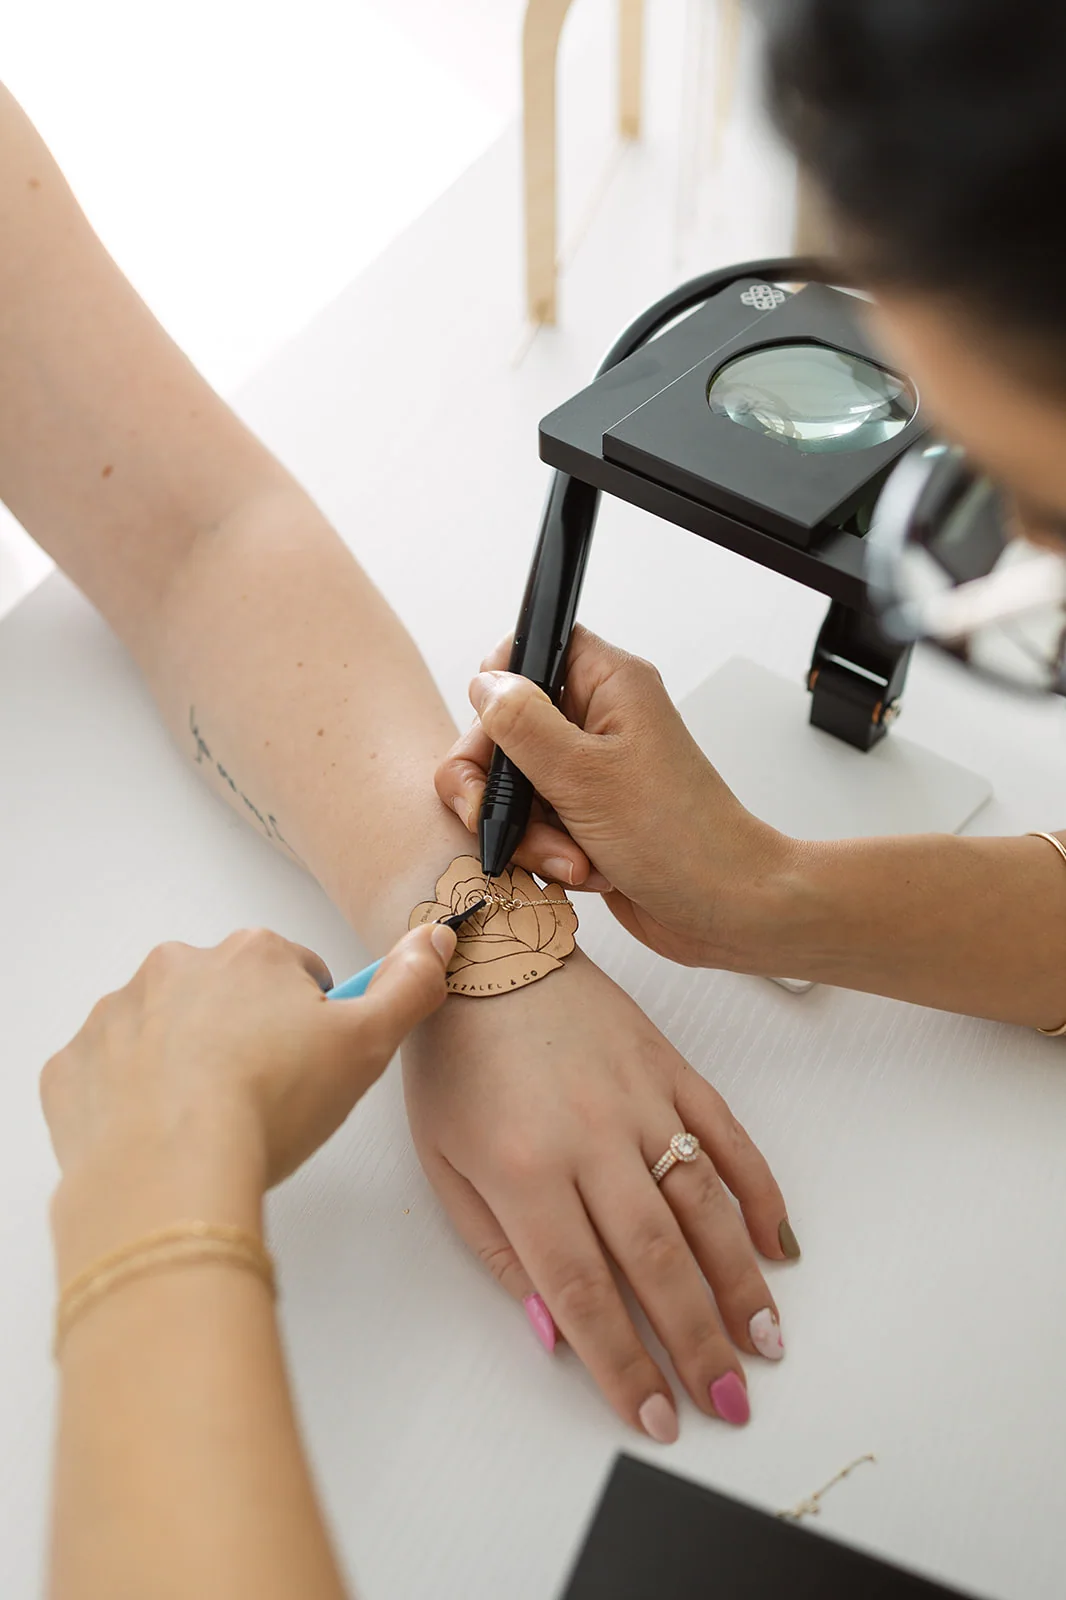
One of the first things I tell permanent jewelry beginners is this: don't confuse “the machine flashed” with “I made a good weld.” Those are not the same thing.
After working with thousands of small jewelry connections over the years, I can tell you that the most useful skill is recognizing when a weld isn't right. You need consistent technique, the correct equipment setup, and a reliable way to inspect and test the connection before a customer leaves.
I'm going to talk about common causes—not give universal power settings, because settings vary with the welder, alloy, jump ring size, and manufacturer instructions.
1. The jump ring isn't properly aligned
A gap, a twist, or poorly positioned ends can interfere with a consistent join. Begin with correctly sized, compatible findings and pay attention to the position and contact of the ring ends before welding. The goal is a repeatable starting condition, not trying to rescue an awkward setup with more power.
If something looks off before you begin, fix it before you weld.
2. Your electrode needs attention
A worn or contaminated electrode may affect arc consistency. I keep the appropriate maintenance tools available and check the electrode when a series of welds suddenly starts behaving differently.
Use only the cleaning, shaping, replacement, and handling procedures recommended for your machine. Don't improvise with unfamiliar tools or assume every electrode is prepared the same way.
3. You're relying on someone else's settings
I know it's tempting to screenshot an artist's settings chart and copy it exactly. But the same number on a different welder doesn't necessarily produce the same result. Material, finding gauge, component geometry, electrode condition, and manufacturer design all play a role.
Follow your machine's instructions and practice systematically on the exact material you're using. Keep notes on the combinations that have worked consistently for your equipment.
4. The jump ring and chain materials don't belong together
Unknown alloys or incompatible findings can create problems you can't fix with technique alone. Ask suppliers what you're buying. Verify that your welder supports the material and that your jump rings suit the chain design and intended wear.
I prefer known gold-filled and sterling silver materials from suppliers whose specifications I can check. This isn't the place for mystery metal from a random assortment pack.
5. You're not inspecting the result
A finished connection should be checked visually with appropriate magnification and evaluated using the manufacturer's recommended acceptance criteria. You should be able to recognize an incomplete join, damage, or a connection that needs to be remade.
One of my personal habits is combining a visual inspection with an appropriate mechanical check. Don't apply destructive force while the bracelet is on a client. Practice and test sample assemblies away from the wearer so you understand what a reliable join looks and feels like.
6. The chain breaks somewhere other than the weld
This is a big one! Not every broken bracelet is a failed weld. A delicate chain can snag on clothing, sports equipment, or a door handle. Links, charms, and connectors can fail outside the welded jump ring.
When troubleshooting a return, find the actual point of failure before deciding what caused it. If you only keep increasing weld intensity without investigating the chain, you're solving the wrong problem.
7. You started taking customers before building consistency
It is so easy to think, “I made three good welds, I'm ready!” Please give yourself more practice than that. I recommend working through substantial repetitions on scrap and practice findings, checking each result, and building confidence across the materials you'll actually sell.
It's not about having a magic number of practice welds. It's about consistently getting reliable outcomes and knowing exactly what to do when one isn't right.
My simple troubleshooting sequence
- Stop and protect the customer; don't keep firing blindly.
- Check the machine, safety equipment, connection, electrode, and material against manufacturer guidance.
- Inspect the alignment and condition of the findings.
- Reproduce the issue with safe practice pieces—not on a customer.
- Consult manufacturer support or a qualified instructor when the cause isn't clear.
- Replace or remake questionable jewelry rather than sending someone home with a connection you don't trust.
Common questions
Why did my permanent jewelry bracelet break after one day?
It could be a connection problem, a damaged link, snagging, or an issue elsewhere in the assembly. Inspect the actual failure point before assuming.
Can I repair a broken permanent bracelet?
Sometimes. The answer depends on where it broke, the material, how much chain remains, and whether an appropriate repair can be made safely. For customers, explain your repair policy clearly.
Should I increase the energy whenever a weld doesn't hold?
No. Diagnose the cause first and follow manufacturer guidance. More energy is not a universal fix, and excessive energy can damage findings.
The equipment and practice supplies I trust
Browse my welding tools and findings shopping list, and read the complete beginner supplies guide. If you're new, learning to recognize a bad weld may be even more valuable than learning how to make your first good one.
Keep learning
Good technique and thoughtful business decisions begin with clear information. Browse the free supplier library, practical worksheets, and interactive tools.